All About the Microchip

Basically a microchip is a small, scannable chip about the size of an uncooked grain of rice.  The microchip has a unique id number attached to it that, once called in, will provide all the contact information of the animal’s owner.  Every stray facility and police station has at least one scanner so if they come across a stray animal, they will check for a microchip. 

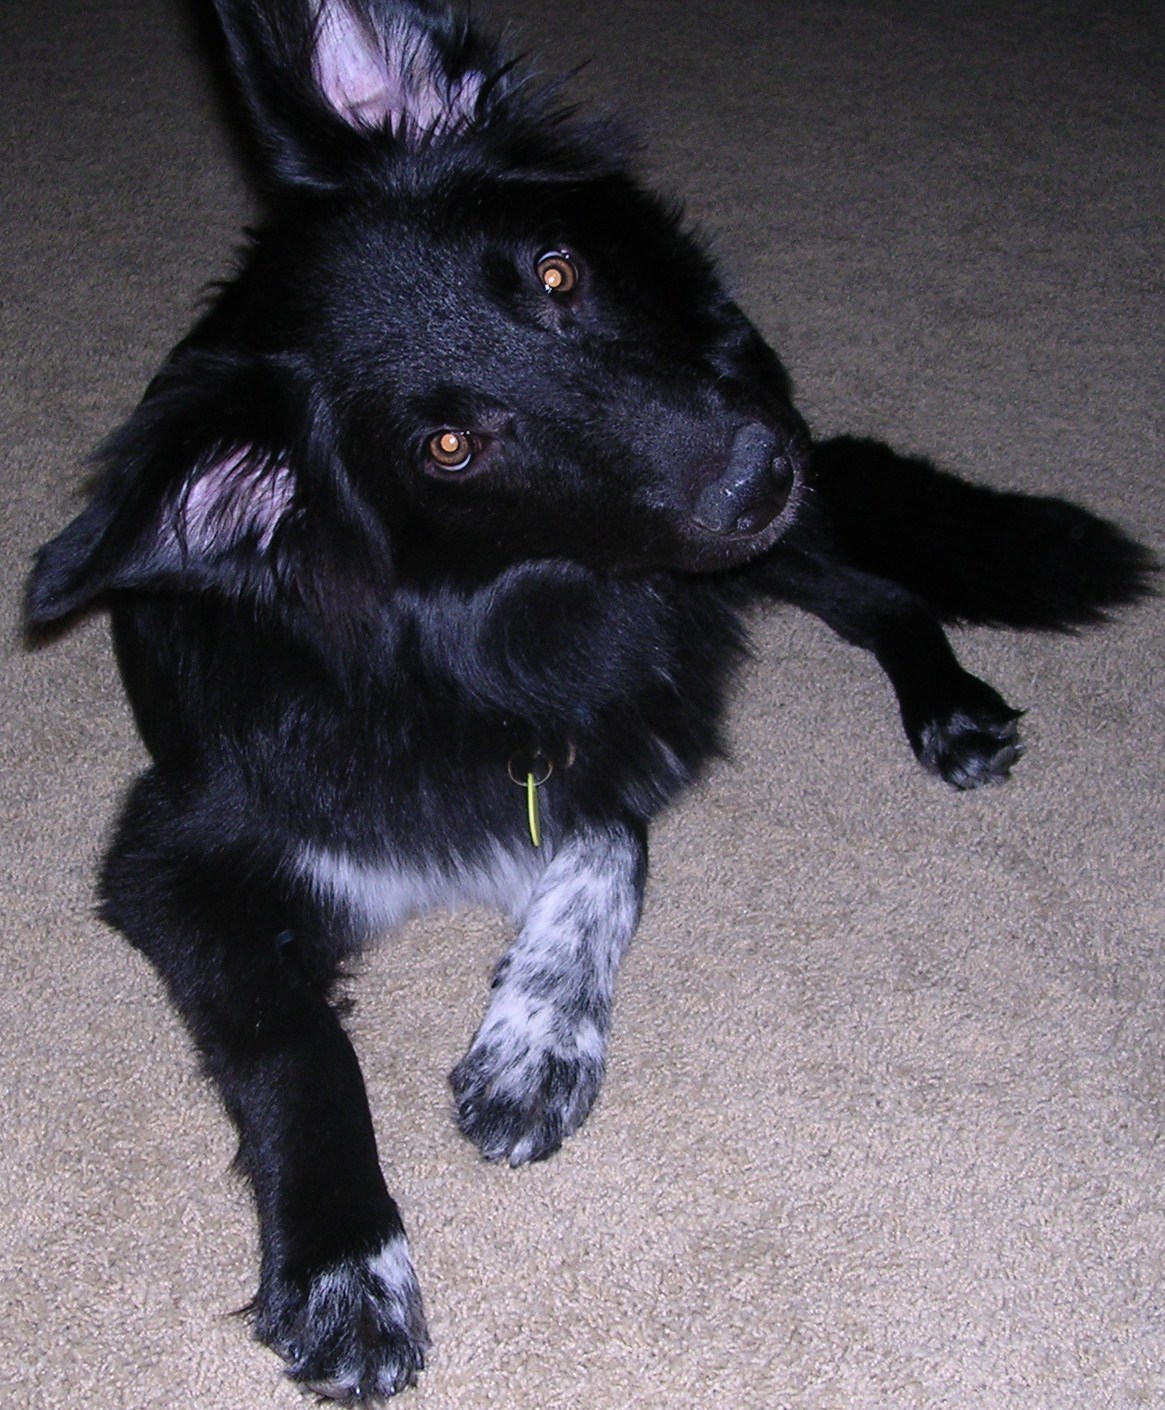
I definitely recommend microchipping to anyone with a companion animal.  The process of putting the chip into your pet is very easy and rather painless.  The chip is inserted under the skin of the animal, between the shoulder blades, with a needle.  There rarely is blood and I have yet to see an animal react to the procedure.  Once the microchip is inserted, it may move a few inches but you will probably never be able to find it/feel it.

You will then have the unique id number registered to you with all your contact information.  Remember to always update this information as time goes on and you move, change your phone number, or get a new email account.  If the information assigned to the chip is no longer valid, the whole thing is pointless because no one can contact you.

Many people with dogs are willing to get a microchip because they can easily see how it is helpful.  However, some cat owners do not think it is necessary to get a microchip for their indoor cat because it lives inside 24/7.  I would argue that this is actually why you would want to microchip your cat because they will get lost very easily if they ever make a great escape to the outdoors.  Less than 10% of cats are reclaimed at shelters – if you microchip your cat and it ends up at a stray facility/police station/animal shelter/vet clinic they will all know to scan for a microchip and will then be able to find you, the owner.

Microchipping is fairly cheap (about $20-$35).  Contact your veterinarian or local shelter if you are interested in getting one for your pet!

**Photo taken from http://www.howstuffworks.com

The proper way to introduce yourself to and pet a dog

The main thing to keep in mind when meeting a new dog is that they are not humans and therefore we must be mindful of what our body language means to them.  For example, eye contact in the dog world is an extremely aggressive thing to do.  Try a staring contest with a dog and you could very well end up with a bite to the face.  So try your best to not hold eye contact with a dog for more than a few seconds.  Another example is with our actual bodies.  Facing a dog with our chests directly pointing at them is also a sign of aggression in the dog world. So if you are meeting a dog that doesn’t know you and/or seems somewhat fearful, turn your body a little so you are at an angle.  This will tell them you mean no harm.

So when you meet a dog, your first instinct is most likely to put your hand on their head/neck to pet them as a greeting.  While some dogs are perfectly fine with this and your own dog may tolerate it, this is scary for most dogs.  The best way to pet a dog is to first let them smell your hand that is in a fist, and then open your hand up to pet their chin and upper neck.   Once a dog gets to know you and understands that no fights are necessary, you can usually pet wherever you want.  My own dog, Monty, will not only let me pet him anywhere, but will also engage in some serious staring contests with me sometimes.  He knows me all too well and understands that I would never harm him and therefore allows these behaviors. 

I always recommend asking the owner ahead of time if it’s okay to pet their dog.  Owners will know better than anyone else if their dog is not in the mood for strangers or has a fear of certain kinds of people.

Many children that are bit by dogs most likely are doing the things that I recommend you not do.  They like to run up to a strange dog, put their arms around their necks (thus touching the back of the neck) and will look the dog straight in the face in hopes of the “kiss”.  I admit, when I was about 7 I did this myself with a maltese and still have the scar on my lip to show for it.  PLEASE teach your children the proper way to pet a dog.  Also teach them to ALWAYS ask the owner if it’s okay first and to NEVER pet a dog that is unattended.

Collars


The best way to find a good collar is to take your dog to the pet store and try collars on.  When you find one you like, take it off and start to tighten the collar.  Slide it over your dog’s head and then try to put your fingers in between the collar and your dog’s neck.  You should only be able to comfortably fit two fingers in between the collar and your dog’s neck. This is the perfect fit for your dog!

If your dog is an escape artist when it comes to collars, I recommend the martingale collar.  This collar will tighten up when your dog pulls on the leash, but does not actually choke your dog.  It just keeps your dog from being able to slip out of the collar.  To fit the martingale, pull the d-ring (where you attach the leash) out and do the two finger test with the collar tightened all the way.  This way when your dog pulls and the collar tightens, it does not choke them.

When your dog is safely in the home, it is a good idea to take his/her collar off.  Dogs can get themselves into trouble and I have heard too many stories of dog’s choking themselves to death because their collar go caught on something in the house.

For cats:  I recommend the same fitting process (obviously you cannot take your cat to the pet store, so just make sure to pick one that is adjustable).  There are cat collars that have a release on them.  Basically, if you pull on the collar enough, it will snap open.  This is key for your cat (no matter how inactive you may think he is!) because you don’t want your cat getting caught on his collar for the same reason why I recommend taking your dog’s collar off when inside. 

Even if you have a collar on your pet and have their tags attached, I strongly urge you to also have your pet microchipped.  This is a simple, painless process for your pet and ensures that even if your pet loses their collar while lost, you will still be able to reunite with them.  Ask your vet or local shelter for more information!

Cat collar photo from: www.equinecaninefeline.com
Dog collar photo from: www.sylvans.net

TNR – The feral solution


Most communities hold the belief that if there is a stray and/or feral animal “situation” or “overpopulation” in their area, the best way to handle it is to trap these animals and kill them.  However, it has been proven time and again that removing a population slowly and killing them does not have a negative effect on the stray population.  Rather, (channel high school biology!) the ecological system of a specific community can support a certain number of stray dogs and/or feral and stray cats.  Let’s pretend that number is 100.  If you trap and kill ten, you still have ninety and since the environment can support 100, those ninety will quickly reproduce and get back to their capacity in no less than two months. 


Granted those numbers are completely made up, but biology teaches us that there are ecological niches and a general number of a certain species can be supported by it.  So the best way to control the strays is not to try to trap and kill all of them.  You will never get to all of them, and they will reproduce just as fast as they can be caught and killed.  This has been proven time and again in communities all over the world.  The community recognizes that they have a lot of strays/ferals, and maybe one of these animals hurt a person so the government is now paying attention.  They decide the best course of action is to trap all these animals and kill them, yet months or even years later the number of animals has not changed.


The best way to handle a stray and/or feral population is to trap, neuter (and vaccinate) and release the animals (TNR).  Once released, they are unable to reproduce, are vaccinated with a three year rabies shot so rabies will not be an issue, and hold the ecological niche population in place.  Most communities that have implemented this way of handling their stray and feral populations have also found that some of these animals are adoptable (not completely wild).  These animals are then fixed, vaccinated and adopted out to a loving home.  The animals that are trapped that prove to be wild are therefore simply returned to their habitat once they have recovered from their vet visit.


Please contact your local shelter/animal control facility and ask them what their procedure is for feral cats/dogs.  Strongly encourage them to adopt the Trap/Neuter/Release program for the ferals that cannot be domesticated.  I can provide you with specific evidence of how this works better than trapping and killing if you feel you need it to make your case.  For more information about TNR and other nokill solutions, check out Nathan Winograd’s book, Redemption.  Thanks!

Cutting Your Dog’s Nails


If you have never cut your dog’s nails before, it is best to get her used to you touching her feet first. So for a few seconds, a couple times a day just hold her paws in your hands. Make sure to reward her for letting you do this-I always give a little treat so they know they are being good. Do this for a few days until she is tolerant of you holding them for more than a few seconds.
Now that your dog is used to you touching her feet, you can start cutting her nails.  I prefer using standard dog nail clippers (personally not a fan of the guillotine clippers, but go with whatever you feel most comfortable with).  I recommend just doing one foot at a time with a good, long break in between as a cooling off period. As time goes on, you may not need to do this since your dog will get used to the nail cutting. If your dog’s nails are white, you will notice some red running from the base, but not out into the tip. This red is blood and nerves, called the quick, so you do NOT want to cut into that! Just cut off the white tip of the nail. If your dog has black nails, you will want to cut off a tiny bit at a time and keep an eye on the surface where you are cutting. As you get close to the blood and nerves, a ring on their nail will appear where you are cutting. Once you see this ring in their nail, stop!
I recommend cutting your dog’s nails once a month. If your dog likes treats, it is always a good idea to reward her for a good job! And remember, your dog may not be a fan of the paw touching and nail cutting, so have some patience. It will take some time for her to adjust to this, but if you keep it positive and go slow she will be okay with it in no time!
Bonus: This method also works for cats! I cut my cat’s nails once a week to keep his nails short and dull at all times. It may take even more patience for your feline friend to be okay with paw handling, but go slow and reward liberally and your kitty will warm up to the idea eventually.  Once again, I prefer to use the standard cat nail clippers that you can find in any pet supply store.
*Picture taken from simplyk9.co.uk

How to teach your dog "lay down"

As always, the first step is to find a treat your dog is really willing to work for! Once this treat has been identified, break them up into small pieces (no bigger than your pinky fingernail).

Essentially when you are teaching your dog a command, you will first teach them the result you are looking for (in this case, down) and once that is learned you are putting a verbal command to it. So to teach the result of laying down, first ask your dog to sit. Then, take a small treat in your hand and put it close to your dog’s nose and slowly move it to the ground towards your dog’s front feet. This motion of moving a treat from your dog’s nose to the floor will almost always result in your dog laying down so he can get to the treat. Once your dog does lay down, give him the treat immediately and praise him! Dogs only have an association period of about 1.5 seconds, so you need to get that treat to him in 1.5 seconds for him to understand that laying on the ground=treat.

Do this about a dozen times or so to make sure your dog is making the connection. Once your dog seems to be predicting what you want when you put the treat out by his nose, add the word “down” or “lay down” (pick one command and stick with it!) into the mix. So every time your dog puts his belly on the ground, say “lay down” and give the treat. Do this a few more dozen times and your dog should have it! Try just holding the treat in your hand, close to your chest, and say “lay down.” If he lays, praise him and give him that treat as soon as you can.

Do not be discouraged if your dog takes a while to catch on, some dogs are better at learning new things than others. Just keep doing each step over and over until your dog gets the hang of it before you move on to the next step. Some dogs figure this out in minutes (like my cavalier) while others take a bit longer (just like my chihuahua mix and border collie mix-they took a few days). My border collie actually hates the command and action of laying down. I have found in my experience that certain breeds are not fans of laying down or rolling over. So definitely be patient and make sure to reward the little victories!

Reminder: dogs get frustrated just like we do, so don’t train with your dog for more than 15 minutes at a time. That way, he can retain everything you are trying to teach him and not get so frustrated that he shuts down and you have set backs.

The issue with pet limit laws


Most cities have a law in place that limits the number of animals a household can have. Mine, for example, only allows two dogs maximum. (Yes, now you know, I am a law-violator!) The idea behind instituting a pet limit law is to avoid hoarding, animal cruelty and neglect, noise violations, and sanitation issues. While these concerns are valid and I commend the area councils for caring about the welfare of companion animals, the pet limit law does not actually address these concerns.

The issue here is that the people passing these pet limit laws assume that more animals in the house automatically leads to these violations. Not so! Simply having a lot of animals in one’s house does not immediately mean the animals are not well cared for and are a nuisance to the neighbors. There needs to be actual acts of neglect and an inability to provide for the animals in one’s care for there to be any real violations of neglect. Take a foster home for example. Many wonderful individuals volunteer their time, resources and hearts to help local shelters care for their animals. However, what happens if I have two dogs and am fostering a third? The law is forcing me to not help my local shelter and this therefore directly results in more animals being unnecessarily killed because the shelter does not have sufficient room to care for its animals on its own.

The flip side of this law is also an issue as it assumes everyone is capable of caring for up to two dogs at a time. I personally know of several people who do not have the resources or current know-how to care for even just one dog. The pet limit law does not address this type of individual nor does it protect the animals that are under this individual’s care. Rather, it focuses only on one section of pet owners (the multiple pet people) and punishes both the good and bad within that section. If a person has the resources and is perfectly capable of caring for five dogs and is able to do so without the neighbors being overly burdened by it, then why should they not be able to?

So be proactive! Contact your local representatives and ask them to repeal your local pet limit law. Instead, make sure they have a law (or laws) in place addressing hoarding, animal cruelty and neglect, noise violations, and sanitation so that all companion animals, whether an only child or with multiple siblings, are protected. Individuals who are willing and able to care for multiple animals should be able to while people who are unable to even care for one companion animal should be monitored and reported if they attempt to do so.

I will probably write more on this topic at a later date as it is one that lies close to my heart (obviously, I have three dogs and a cat in my house and am hoping to foster one of the freed greyhounds from the Dairyland Greyhound Park). Please comment/ask questions and I will definitely address them either now or in a later post. Thanks for reading!

How to teach your dog "sit"

As always, the first step is to find a treat your dog is really willing to work for! Once this treat has been identified, break them up into small pieces (no bigger than your pinky fingernail).

Essentially when you are teaching your dog a command, you will first teach them the result you are looking for (in this case, sit) and once that is learned you are putting a verbal command to it. So to teach the result of sit, first take the small treat in your hand and slowing move it from a little bit above your dog’s nose backwards to over their head and towards their back. Keep it close to their head so they can smell it! This motion of moving a treat over their head towards their back will almost always result in your dog putting his backside down so he can get to the treat. Once your dog does sit down, give him the treat immediately! Dogs only have an association period of about 1.5 seconds, so you need to get that treat to him in 1.5 seconds for him to understand that butt on ground=treat.

Do this about a dozen times or so to make sure your dog is making the connection. Once your dog seems to be predicting what you want when you put the treat out, add the word “sit” into the mix. So every time your dog puts his backside on the ground, say sit and give the treat. Do this a few more dozen times and your dog should have it! Try just holding the treat in your hand, close to your chest, and say “sit.” If he sits, praise him and give him that treat as soon as you can.

Do not be discouraged if your dog takes a while to catch on, some dogs are better at learning new things than others. Just keep doing each step over and over until your dog gets the hang of it before you move on to the next step. Some dogs figure this out in minutes (like my border collie mix) while others take a bit longer (just like my chihuahua mix-he took a few days).

Reminder: dogs get frustrated just like we do, so don’t train with your dog for more than 15 minutes at a time. That way, he can retain everything you are trying to teach him and not get so frustrated that he shuts down and you have set backs.

Why you should crate train your dog

It’s a potty training tool – if introduced correctly, the crate will be seen as your dog’s “den.” Since the den is meant to be a bedroom of sorts, your dog does not want her area to be dirty. Therefore, the majority of dogs will not go to the bathroom in their crates. HOWEVER: please be mindful of the length of time your dog can hold her bladder. With puppies, good rule of thumb is how old a dog is in months is about how many hours she can hold her bladder. So a 3 month old puppy has to go potty about every 3 hours. You should NEVER leave a dog in a crate for more than 9-10 hours at a time. Every dog, no matter what breed or age, needs to get outside and get some food/water/exercise and attention from you!

It’s a house training tool – when you have a new dog in the house, there is a very good chance she does not know the rules of the house. For example, she may believe everything in the house is fair game when it comes to toys. How is she supposed to know what’s okay to chew on and what’s not? The best way to teach her is to take away whatever she is playing with that she shouldn’t be and replace it with an acceptable toy. If you are not home, you are not able to do this. Therefore, it is good to put the dog in her crate while you are gone so she cannot get into trouble. Most dogs, especially puppies, are very curious and can get themselves into trouble very quickly when unsupervised. So until your dog is completely trained, it is best to have her in her crate while you are gone so she does not harm herself.

Once your dog is completely trained, you can leave her loose in the house while you are gone.

Stop the Leash Pulling

If your dog is pulling on the leash to the point where they are choking themselves or controlling you, there are ways to make them stop!

First, don’t even think about using a pinch or choker collar. The only thing these collars will do for you is cause permanent damage to your pet’s throat. Most dogs will still pull on the leash with these collars on anyways.

A harness is usually the best way to keep control of your dog and not hurt them. There are several types of harnesses out there, but the best one for a strong dog is the sensible harness. The leash attaches to the front of the dog’s chest as opposed to some harnesses that have the leash attach to the back. The reason for this is because if the leash is attached to the front (chest) and the dog pulls, his whole body will turn to the side. This teaches the dog that pulling does not get him to where he wants to go since pulling turns his body away from the object he is trying to get to.

If you have a smaller dog or a dog that is not very strong, a harness that attaches the leash on the back of the dog is fine. This will protect the dog’s esophagus and help you keep better control of the dog.

If you don’t want to get a harness, you can teach your dog to walk along side you with just a collar on. Make sure you have lots of great treats in your pocket. Whenever your dog pulls on the leash, just stop walking and stand there. Once the dog gives the leash some slack, praise them and give them a treat. The first few times you do this it will take a long time just to go around the block, but don’t get frustrated! With some patience and consistency with stopping whenever they pull, your dogs will figure it out pretty quickly that pulling doesn’t get them to where they want to go and that if they walk along side you there are treats to be had!

Remember – it is always a good idea to figure out what kind of treat your dog really loves. These are considered high value treats and your dog will work hard to get one!